How it works
1
Scan or photograph the print
Lay it flat in even daylight, or use a scanner. Glare on a glossy print is hard to recover from, so avoid lamps and flash.
2
Generate
The prompt removes scratches and stains, fixes faded color and keeps each person's features. With Nano Banana 2.1 a 1K edit costs 6 credits.
3
Compare the faces
Put the result next to the original and look at the faces first. Download when everyone still looks like themselves. Downloads have no watermark.
Real results
Each example was generated on YepShot with Nano Banana 2.1 at 1K, using the prompt shown on its card. The old prints are AI-generated to look damaged, and nobody in them is a real person. The last two fix newer photos: we blurred and darkened their source photos ourselves, because a model asked to draw a blurry photo tends to draw a sharp one.
Before 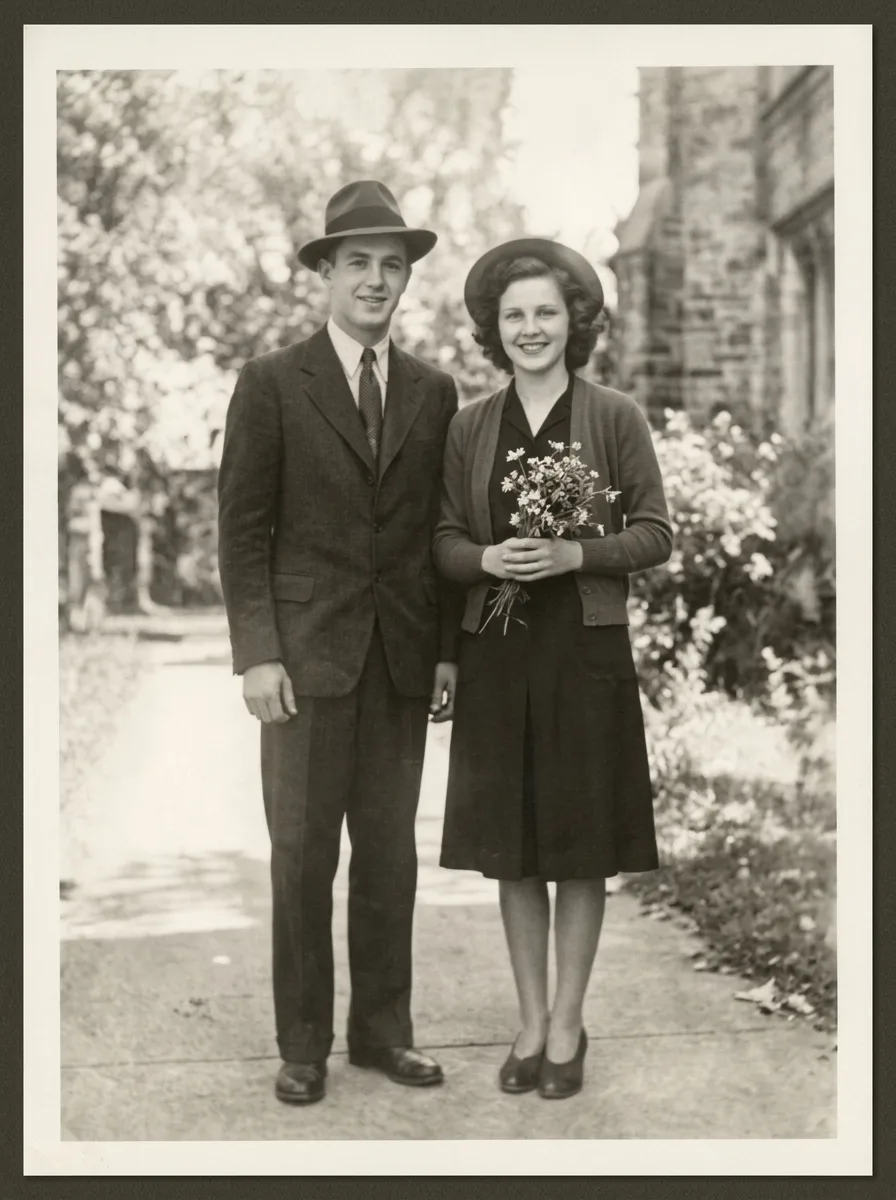
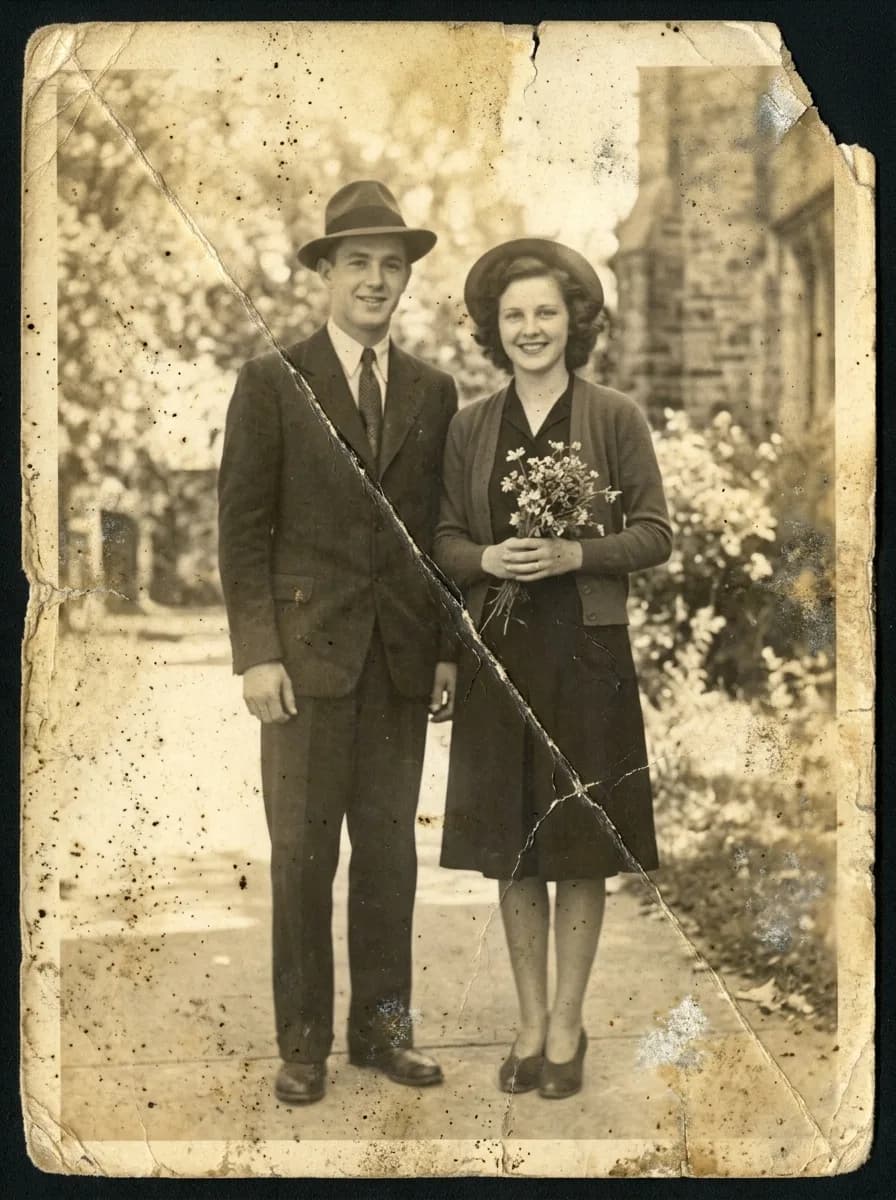
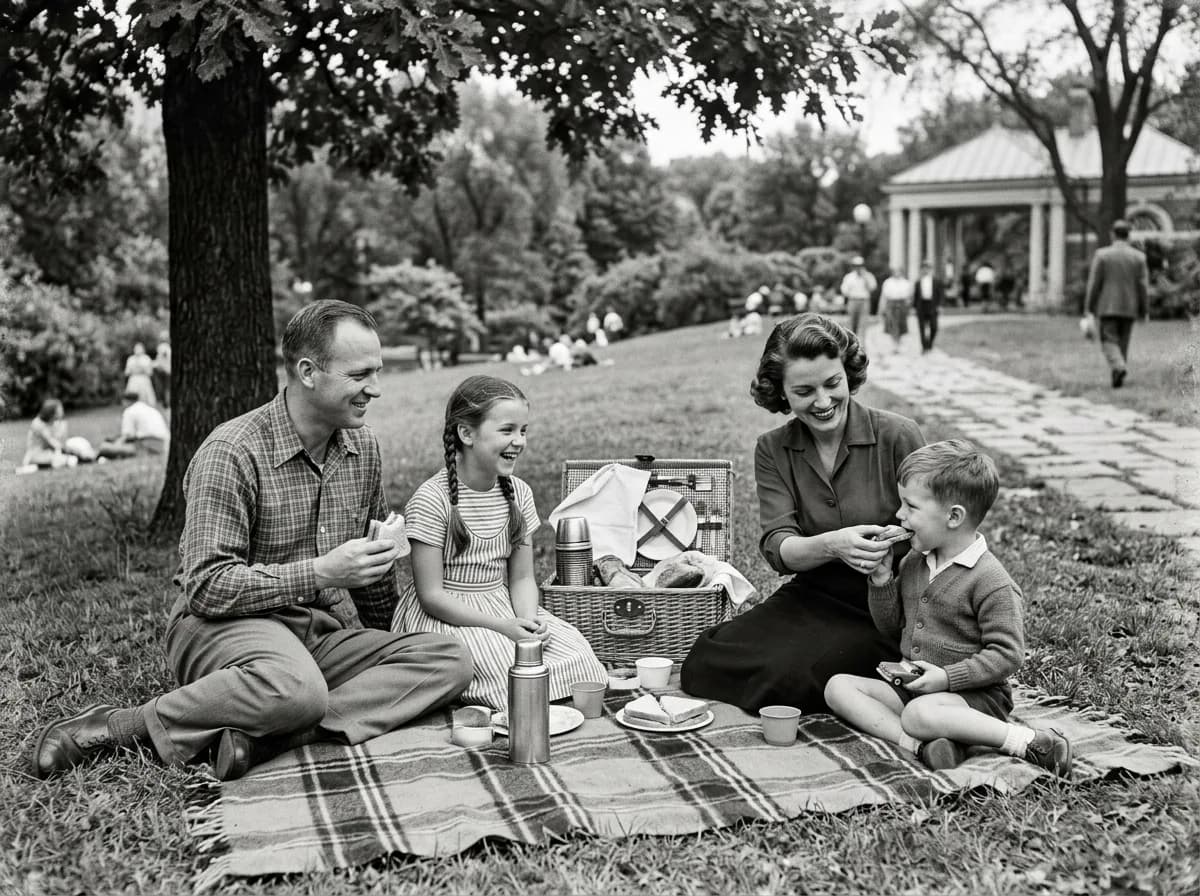
Nano Banana 2.1 Restore a Faded Old Photo
Restore this old photograph: remove the yellow age cast, dust spots, scratches and fold creases, and bring back clear, natural detail in the faces and eyes. Keep the people's features, expressions, clothing and the original composition unchanged. Clean archival quality with natural contrast.
Before 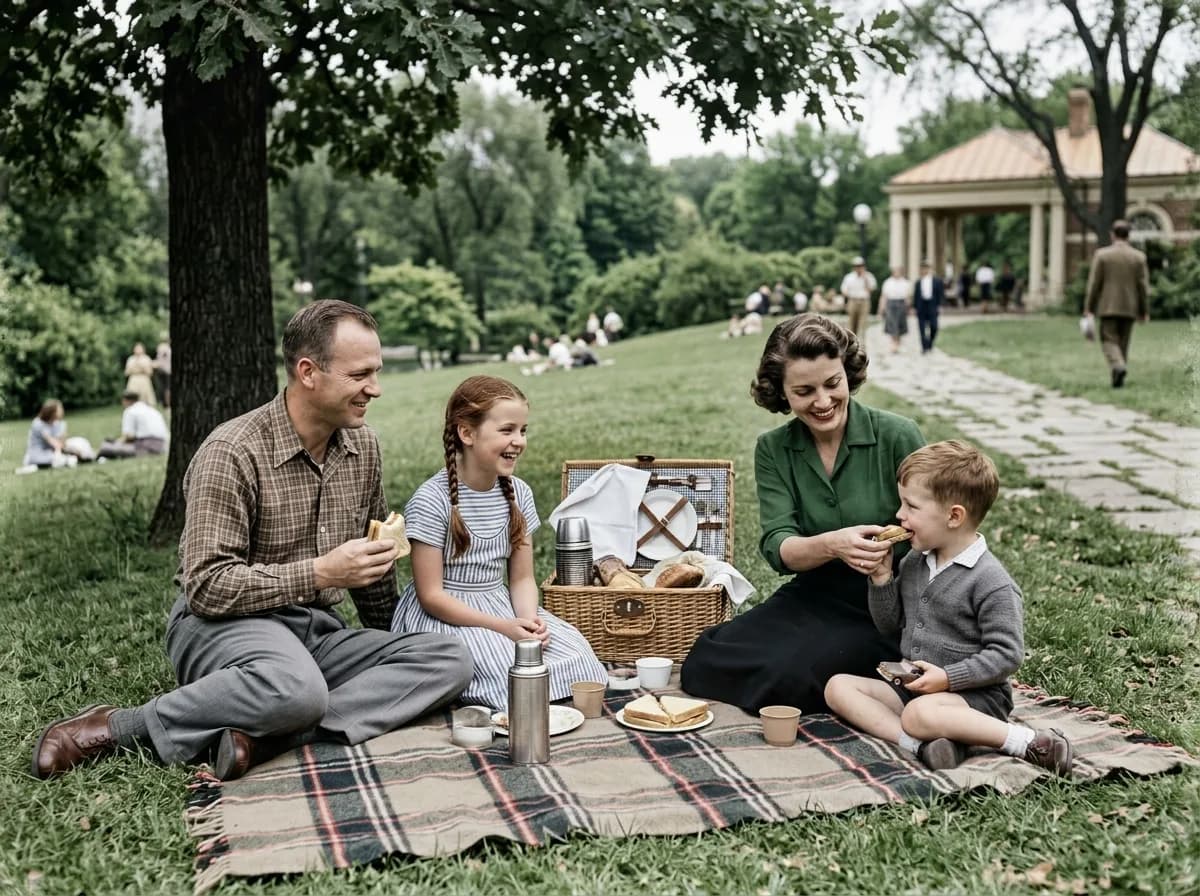
Nano Banana 2.1 Colorize a Black-and-White Photo
Colorize this black-and-white photo with natural, period-accurate colors: realistic skin tones, clothing and surroundings. Keep every detail, the grain structure and the composition exactly as they are; only add color. Avoid oversaturated or uniform tints.
Before 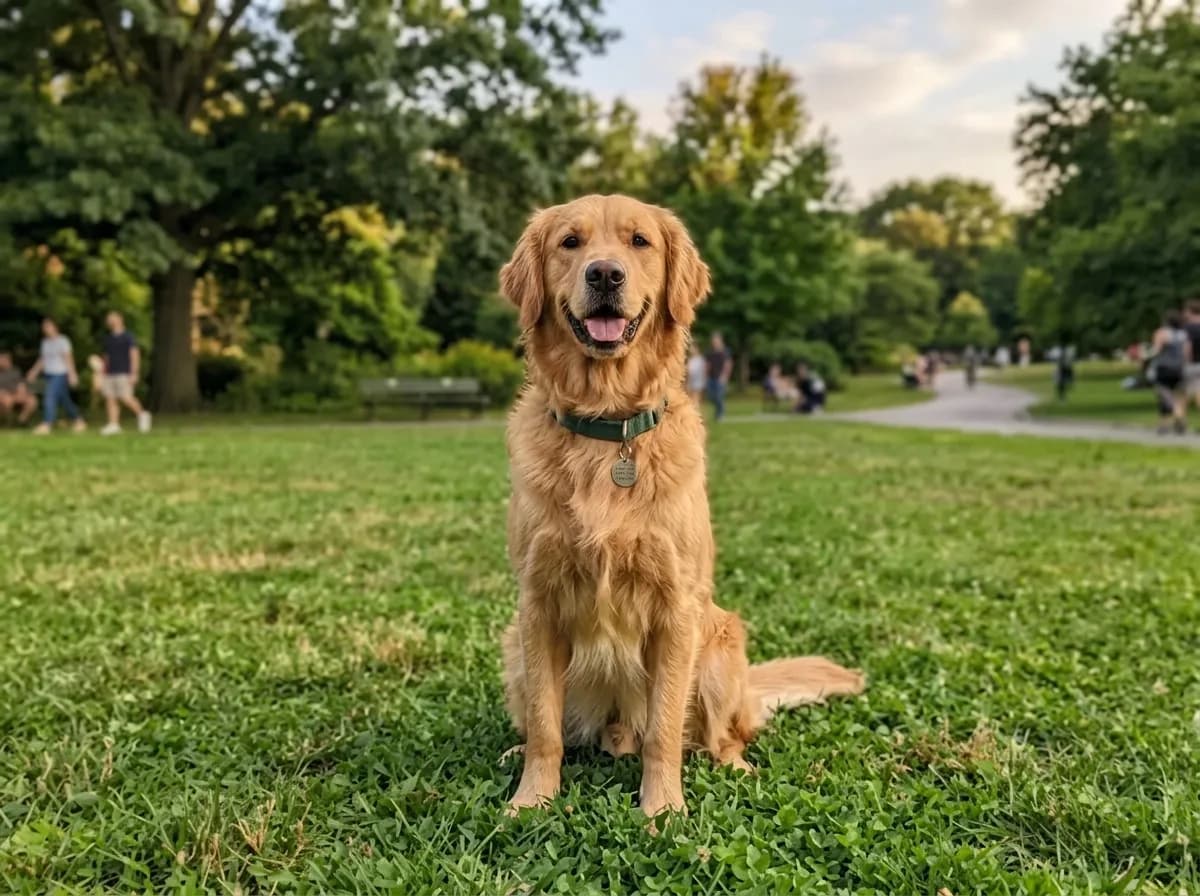
Nano Banana 2.1 Fix Blur and Noise
Sharpen this blurry, noisy photo: remove motion blur and grain, and recover crisp edges and fine texture. Keep the subject, colors, lighting and composition exactly the same. Do not add new details or change any shapes.
Before 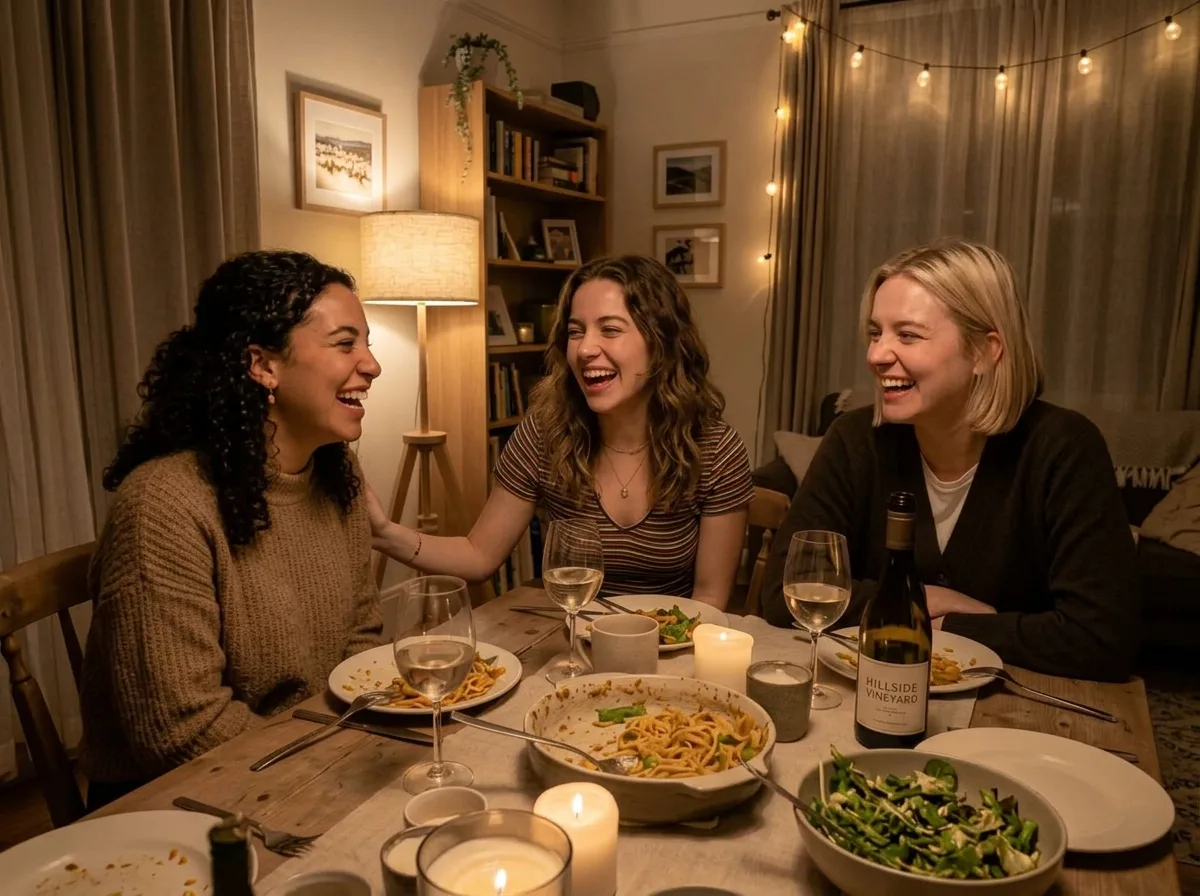
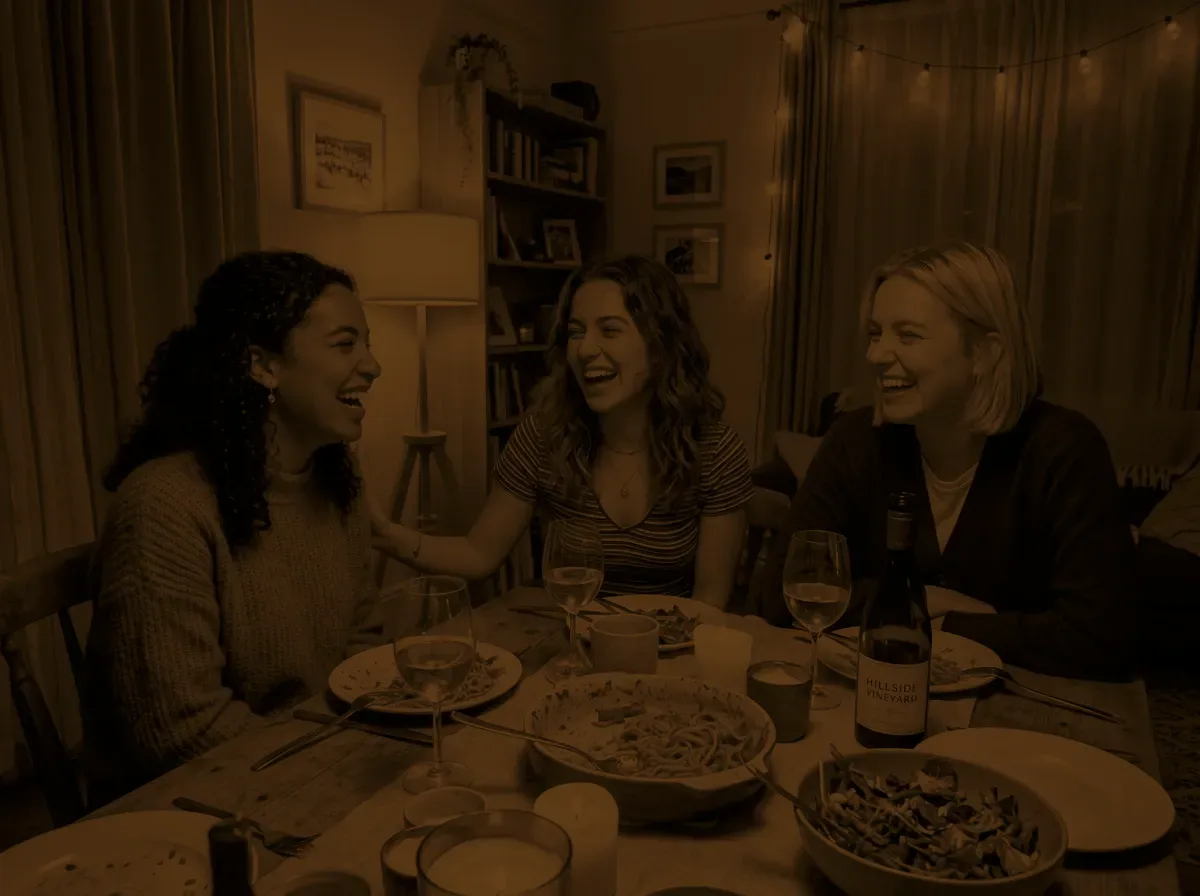
Nano Banana 2.1 Brighten an Underexposed Photo
Fix this underexposed photo: raise the exposure so the faces and the table are clearly visible, recover detail in the shadows, neutralize the color cast and reduce noise. Keep the scene, people and composition exactly the same, and keep the light looking natural.
What changed in our tests
We put each result next to its original and zoomed in. Four things are worth checking on your own photos too.
- Faces
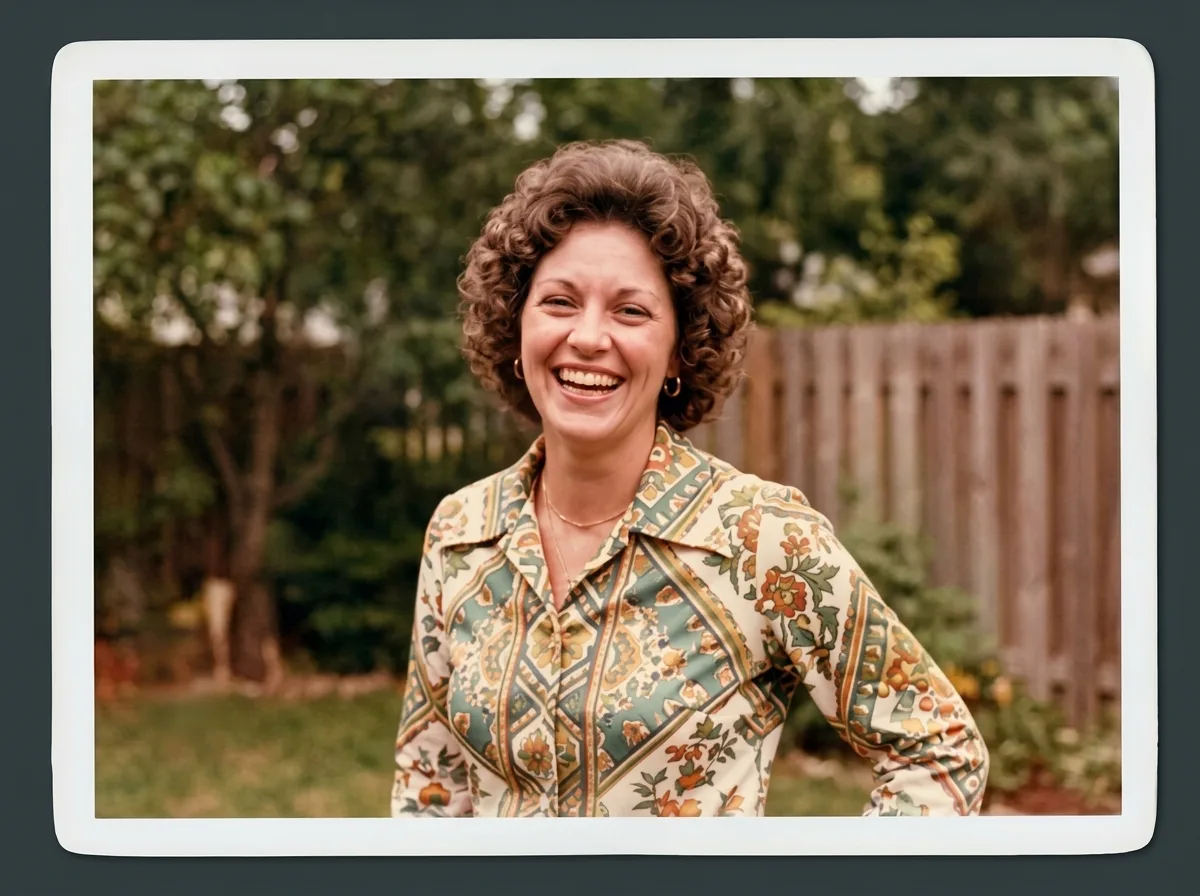
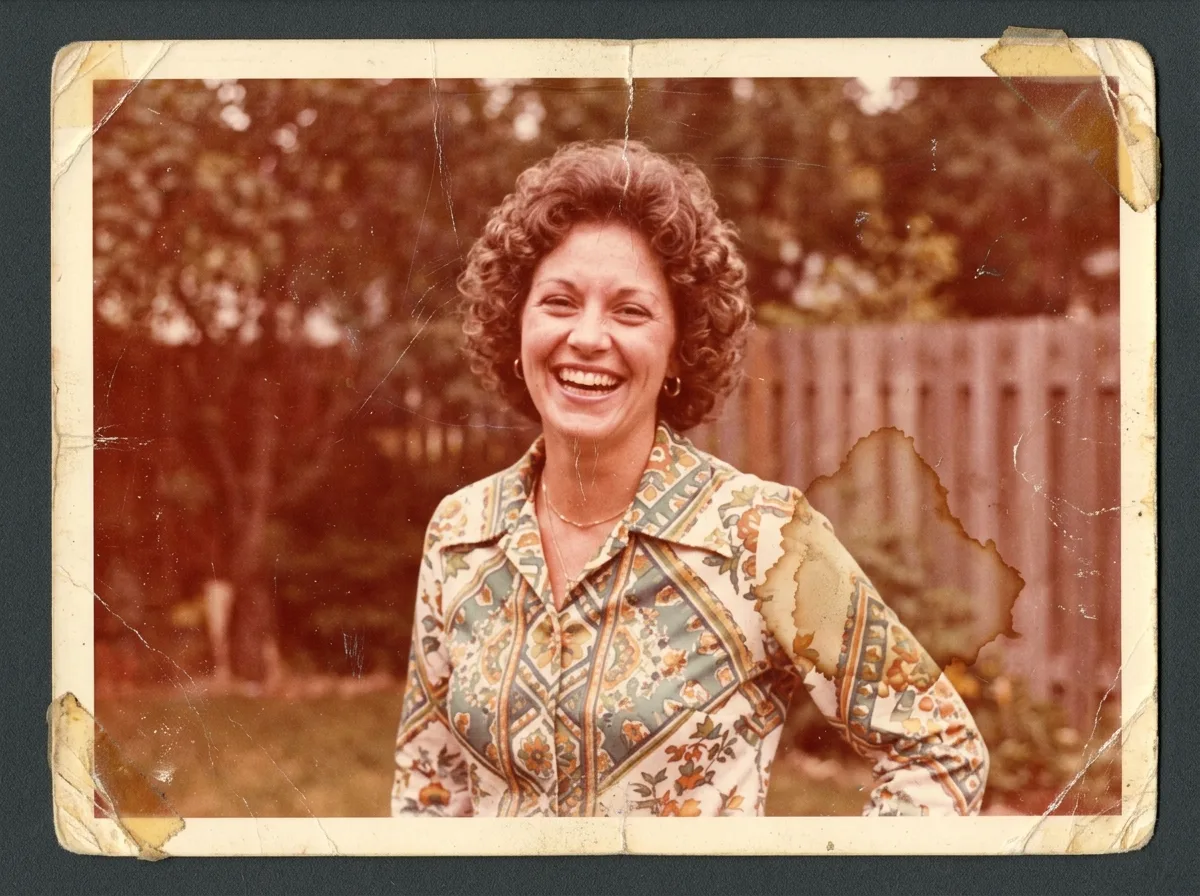
- Everyone in our examples stayed recognizable. Fine details such as the curl pattern of the 1970s hairstyle were redrawn rather than recovered, so the result is a close likeness, not the original grain.
- Edges and border
- The 1970s print came back without its white border and the scan background, with the scene extended to the edges of the frame; those edges are invented. The 1940s print kept its border, and its torn corner came back whole.
- Tone
- The sepia 1940s print came back neutral black and white, because the prompt asks to remove the yellow cast. If you want to keep a warm tone, say so in the prompt.
- Colors
- In the colorized picnic, every color is the model's guess: the father's shirt came out red plaid, the girl's dress pink-striped and the blanket green and beige. Nothing in a black-and-white photo says what the real colors were.
Getting a better restoration
- Crop to the picture
- Crop the scan to the photo itself before you upload, so the model doesn't have to decide what to do with the border and the scanner lid.
- Restore first, then colorize
- For a damaged black-and-white photo, run the restore prompt first, then click Continue editing on the result and run the colorize prompt on it.
- Tell it what you know
- If you know a dress was blue or a car was red, write it into the colorize prompt. Otherwise the colors are guesses.
- Keep the original
- The result is the model's reading of the photo, not a recovered original. Keep the scan alongside it, especially in a family archive.
Frequently asked questions
Will it change the faces?
In our examples, everyone stayed recognizable. The model redraws the whole photo, though, so small details like hair and skin texture are re-created rather than recovered. Compare the result with the original, especially for people you know.
Can it colorize a black-and-white photo?
Yes, with the colorize prompt shown above. The colors are guesses; write any colors you know into the prompt.
Can it repair tears and missing pieces?
Small ones: the fold crease and the torn corner of the 1940s print came back whole. Where a large part is missing, such as half a face, the model has to invent it, and the result won't show the real person.
What size should I generate for printing?
A 1K result of a 4:3 photo is 1,200 × 896 pixels, about 4 × 3 inches at 300 dpi. For larger prints, generate at 2K, or at 4K on a paid plan.
Are my family photos kept private?
Uploads and results are stored in private storage and are only sent to the model provider you choose to run the edit. They are not used to train models, and you can ask us to delete your account and its images.
How much does it cost?
With Nano Banana 2.1 an edit costs 6 credits at 1K, 7 at 2K and 15 at 4K, and 4K needs a paid plan. New accounts get 18 free credits, enough for three 1K edits.
Which model should I use?
Nano Banana 2.1 is preselected, and every example on this page was made with it. GPT Image 2.5 is also in the editor if you want to compare the two on your own photo.