How it works
1
Upload the photo
JPG, PNG or WebP up to 10 MB. Use the sharpest version you have: the area you remove is filled to match what is around it.
2
Brush over what should go
Paint over the object with a little margin, or drag a rectangle around it. Cover its shadow and reflection too. The prompt refers to "the marked object", so the brush is how the model knows which one you mean.
3
Generate and compare
With Nano Banana 2.1 a 1K edit costs 6 credits. Compare the result with your original, especially text and fine patterns next to the area you brushed. Downloads have no watermark.
Cleaning up product photos
Four cleanups that save a reshoot: a price sticker, a reflection, packing creases and dust. Each was generated on YepShot with Nano Banana 2.1 at 1K, using the prompt shown on its card. The source photos are AI-generated snapshots and the brands are fictional.
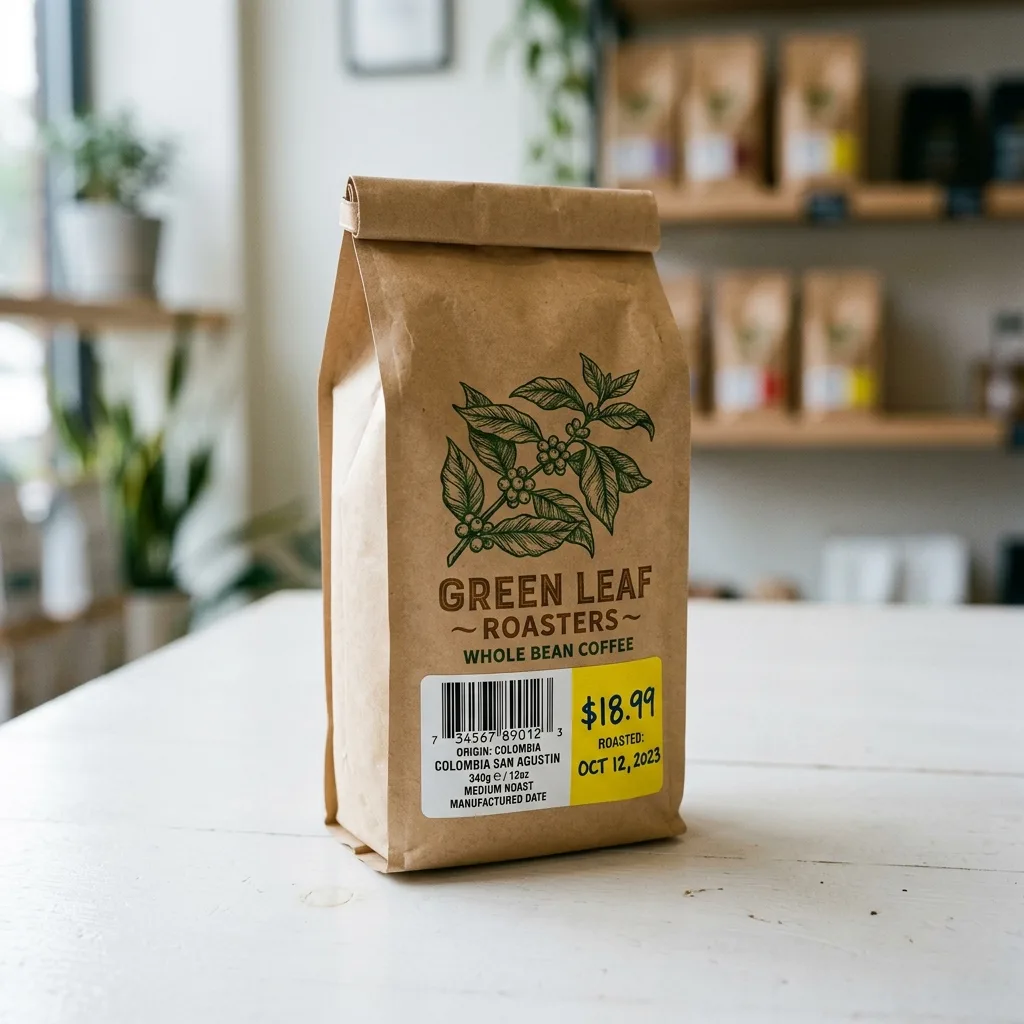
Before 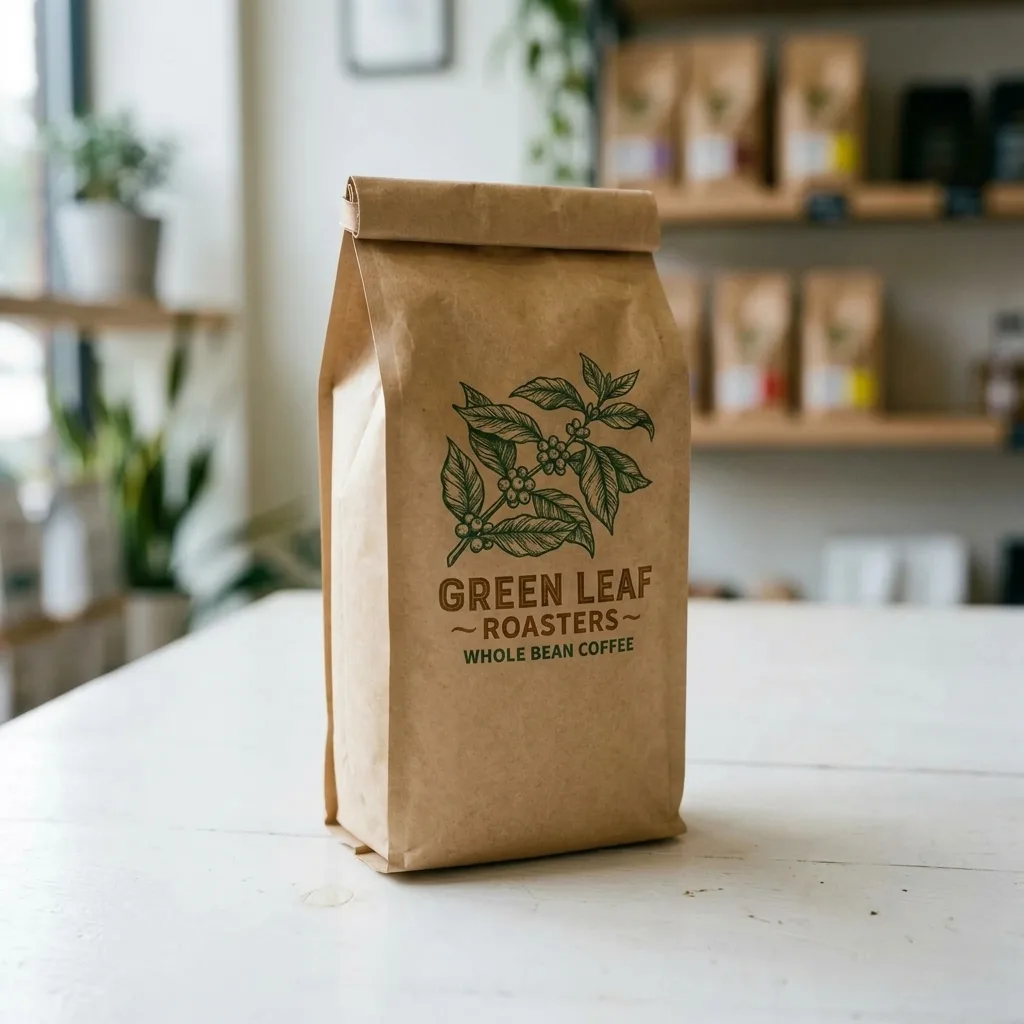
Nano Banana 2.1 Erase Barcode and Price Sticker
Brush the area to edit first
Erase the barcode, price sticker and any text label in the marked area. Rebuild the packaging underneath so its color, texture and printed pattern continue naturally, with no smudges or leftover edges. Keep everything outside the marked area unchanged.
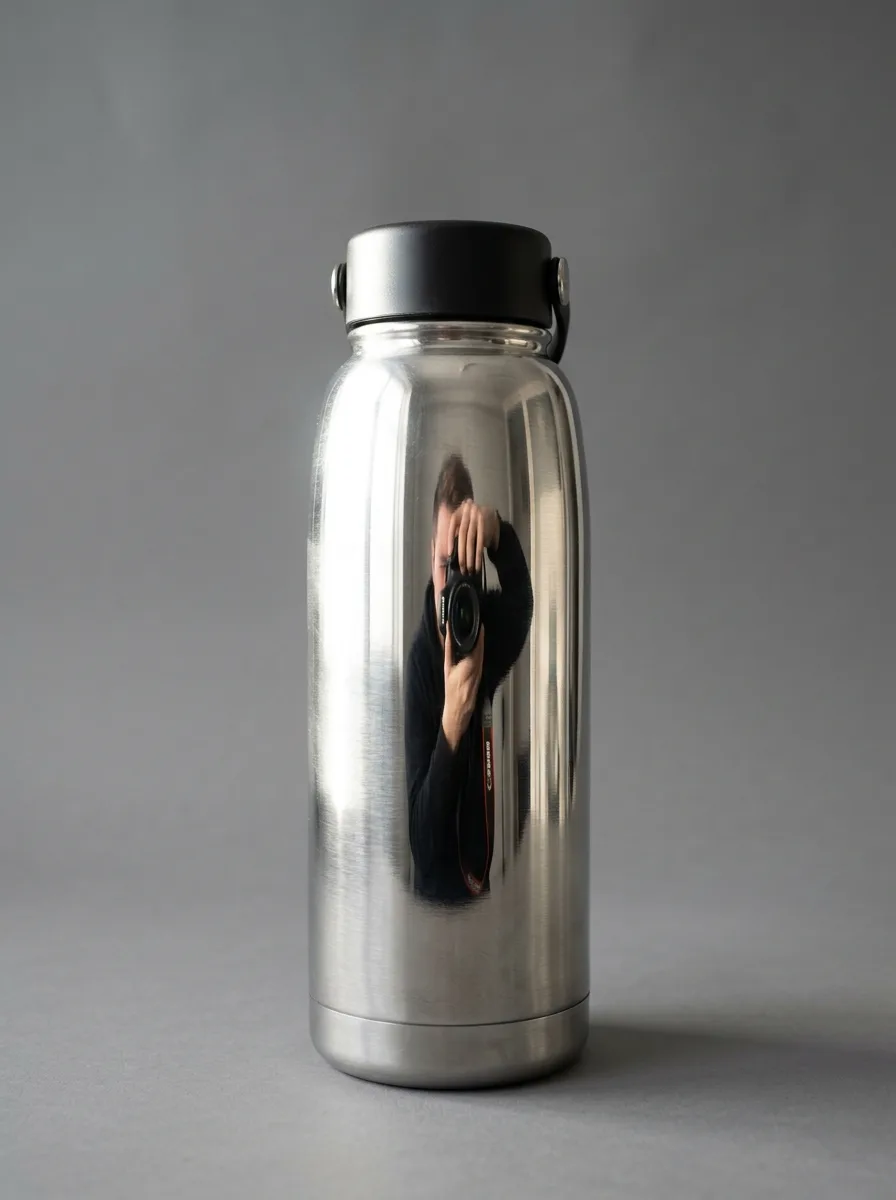
Before 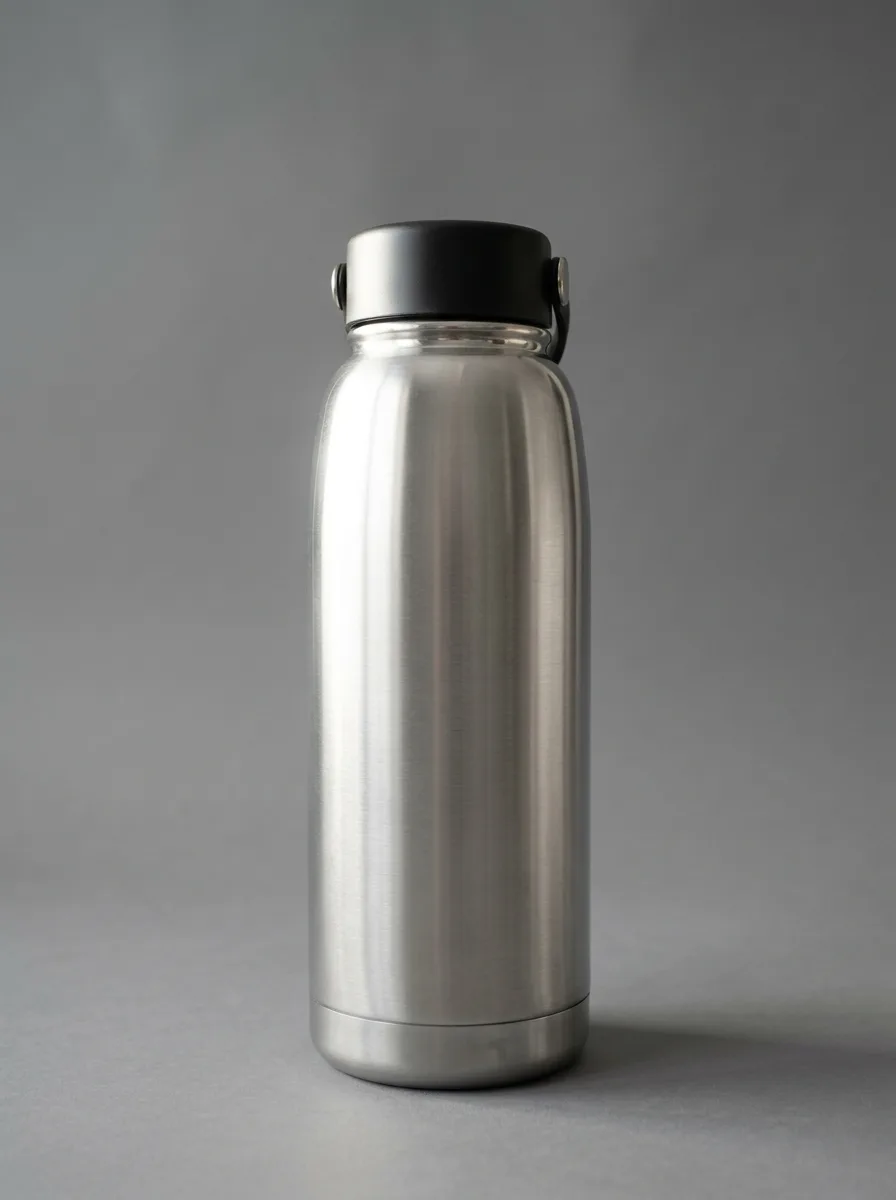
Nano Banana 2.1 Remove Glare on Shiny Surfaces
Brush the area to edit first
Remove the glare, window reflections and camera reflection in the marked area of the shiny surface. Replace them with a smooth, even highlight that follows the surface's curvature, so it blends seamlessly with the rest of the product. Keep everything outside the marked area unchanged.
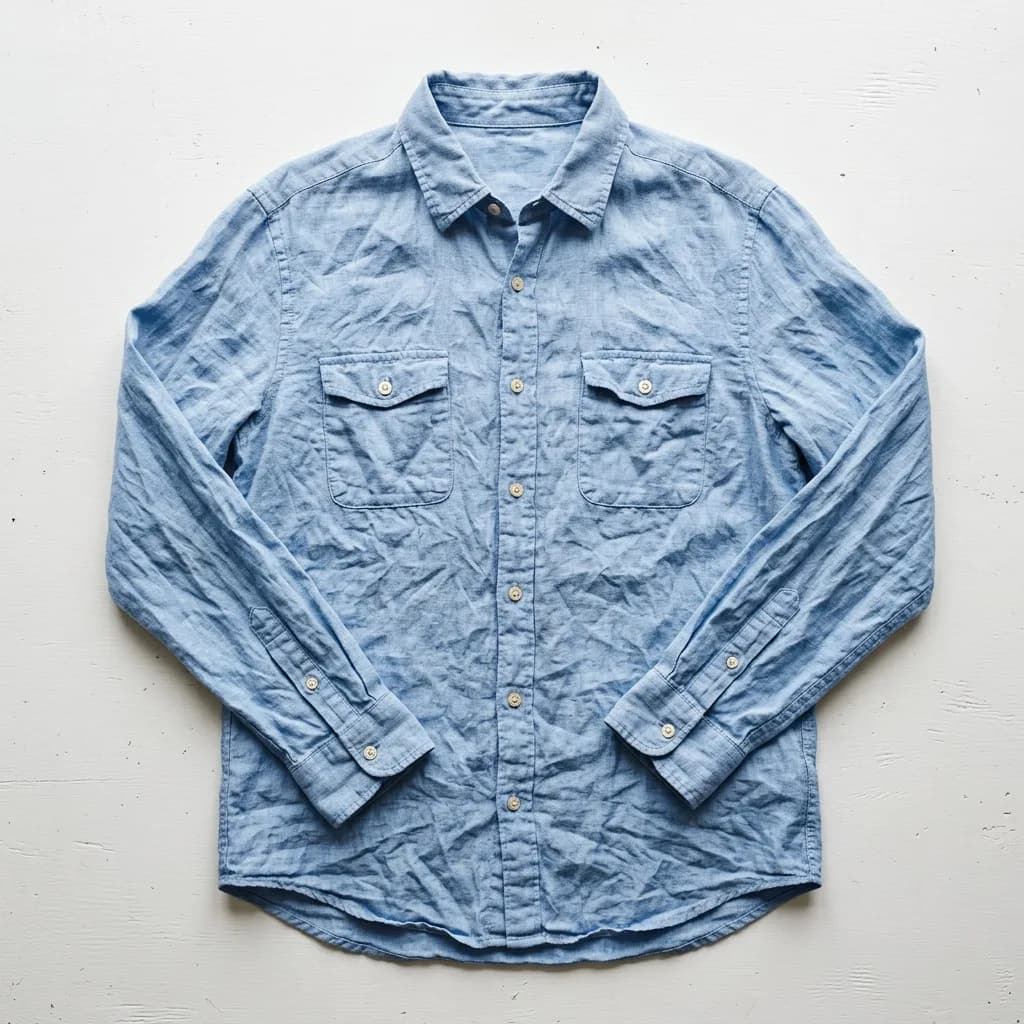
Before 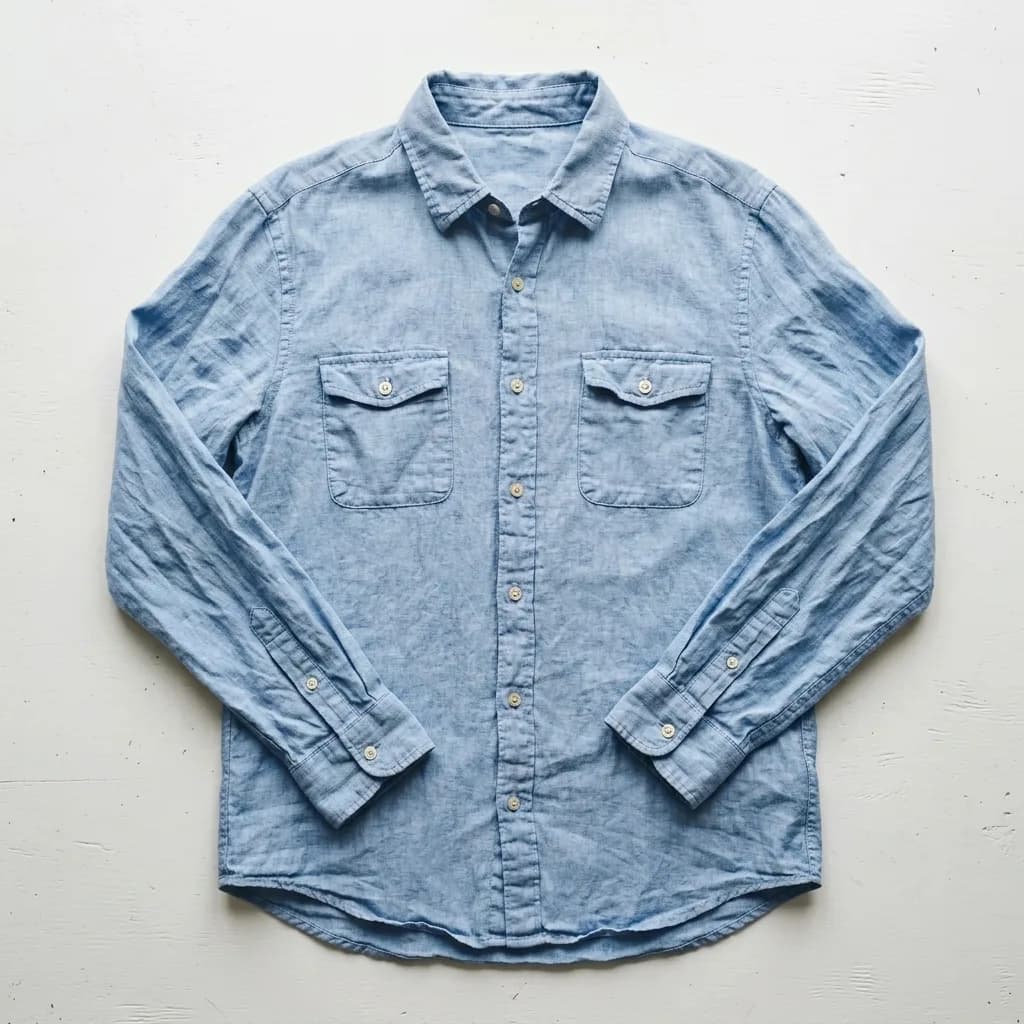
Nano Banana 2.1 Smooth Out Fabric Wrinkles
Brush the area to edit first
Smooth out the creases and wrinkles in the marked area as if the garment had been professionally steamed. Keep the woven fabric texture, color, seams and the garment's natural shading. Keep everything outside the marked area unchanged.
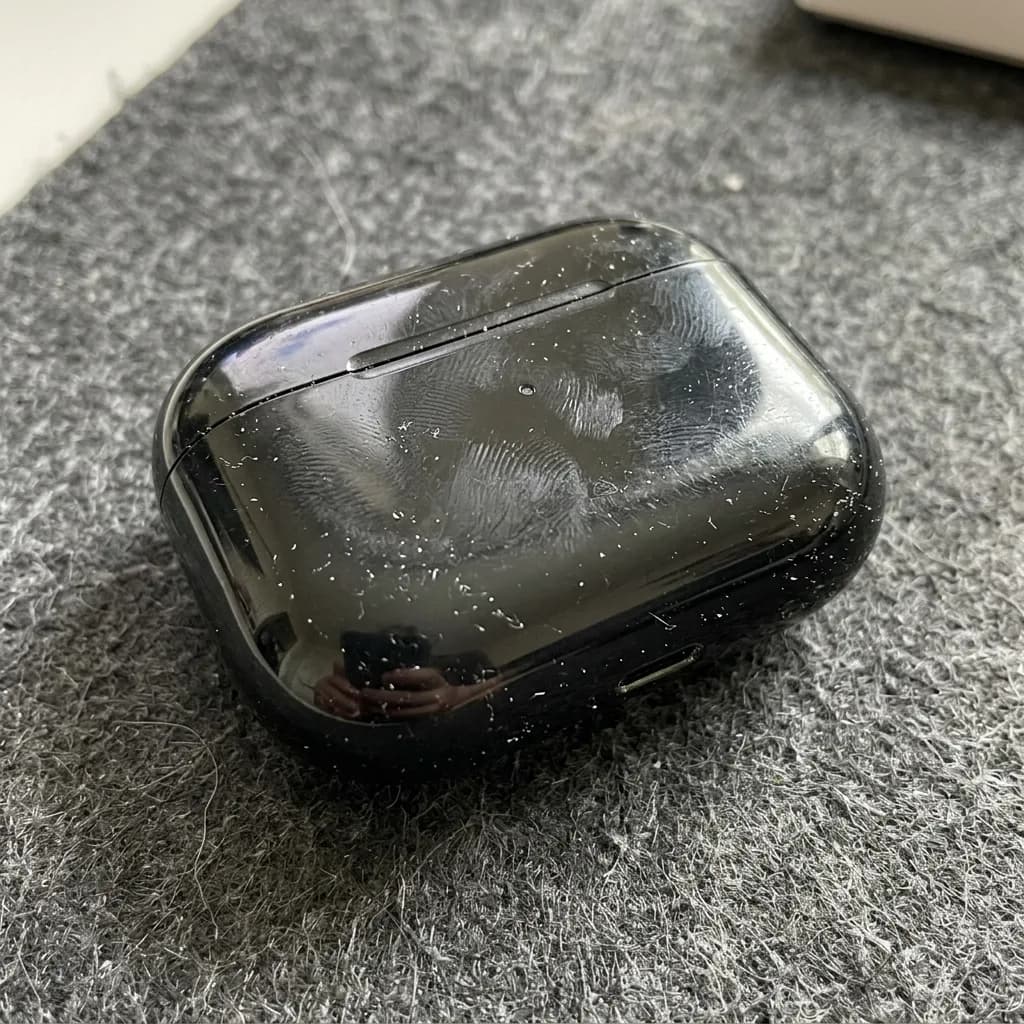
Before 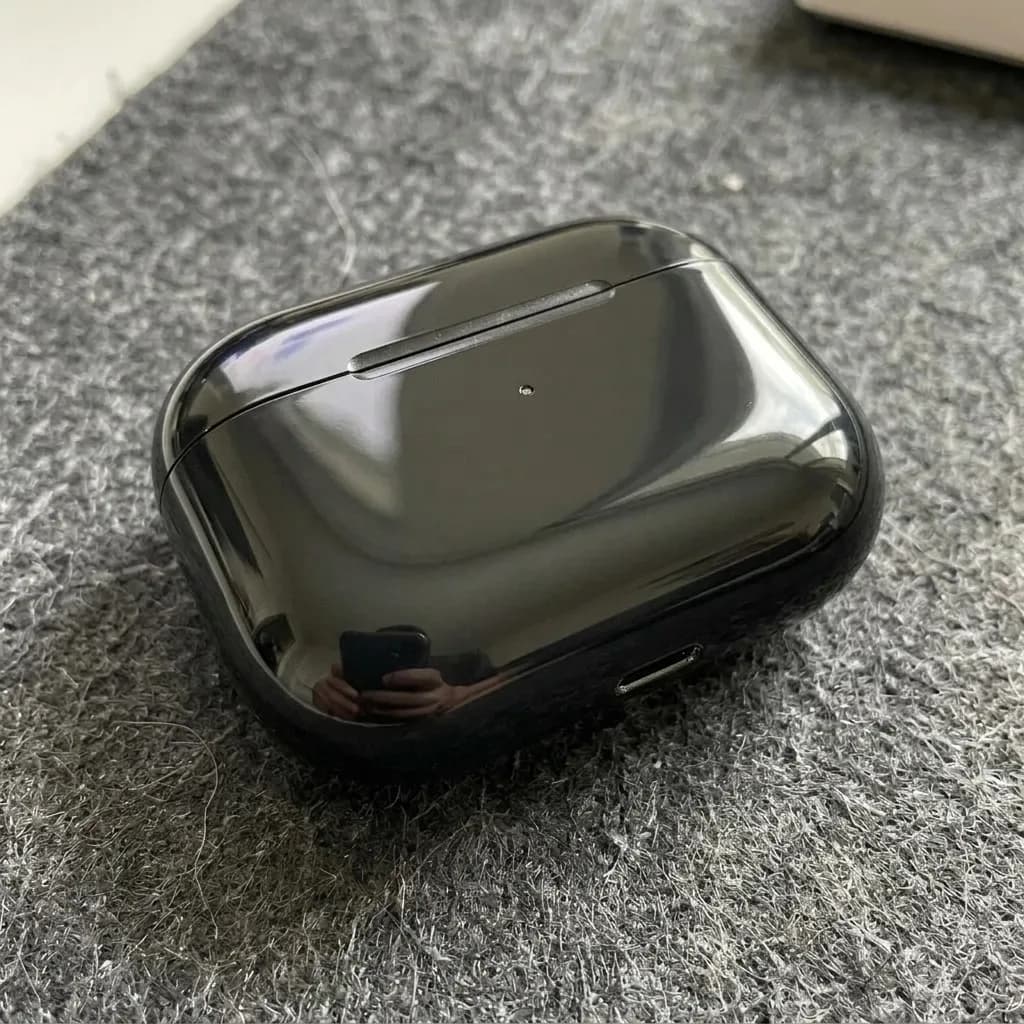
Nano Banana 2.1 Remove Dust and Fingerprints
Remove all dust, lint, fingerprints and fine scratches from the product's surface. Keep its shape, color, glossy finish, logo and reflections exactly as they are, and leave the background unchanged. Clean, freshly unboxed look.
How to mark the area
- A loose box is enough
- The marked areas behind the examples on this page were rounded rectangles drawn a little wider than the object, not careful outlines. The Rectangle tool in the editor does the same.
- Mark the shadow too
- An object casts a shadow and sometimes a reflection on the floor or table. If they are outside the marked area, they are not part of the request.
- Several objects at once
- You can brush more than one area in a run. Change "the marked object" to "the marked objects" so the prompt matches. If one of them stays, continue editing the result and brush it again.
- Change the prompt for special cases
- The cards above use prompts written for one job each: rebuilding printed packaging, keeping a metal surface shiny, keeping fabric texture. Start from the closest one instead of the general prompt.
What to check in the result
- Outside the brushed area
- We compared every example with its original pixel by pixel. The changes sit where the brush went; elsewhere the model redraws the photo with faint noise you can't see at normal size. In the sticker example, the leaf illustration above the sticker was redrawn very slightly and the lettering stayed the same.
- What fills the gap
- The model invents what was behind the object, so it can't know what was really there. In our examples, kraft paper, a rug and a stone street came back convincingly. If a sticker covered part of a logo or text, the model has to guess that part, and the guess can be wrong.
- Real defects
- The dust prompt can smooth over deeper scratches and dents as well. Don't use it to hide damage on an item you sell as new; marketplaces expect photos to show the product as it is.
If the whole background is the problem, not one object in it, put the product in a new scene or on a white background instead.
Frequently asked questions
Do I have to brush the object?
For a single object, yes. The prompt asks to remove "the marked object", and the brushed area is how the model knows which one. Some cleanups work on the whole photo without a brush: the dust and fingerprint example above marks nothing.
Does the rest of the photo stay exactly the same?
Close, but not pixel for pixel. Nano Banana 2.1 redraws the whole image and uses the brushed area as a guide for where to change it. In our examples the changes outside the brush were too faint to see at normal size, but check text and fine patterns near the edit before you publish.
Can it remove people from the background?
Yes. The second example in the editor removes a group of tourists behind a woman in a red dress. Use that prompt: it asks the model to keep the main subject and rebuild the scenery behind the people you marked.
What if something is left behind?
Brush a little wider, include the shadow, and run it again. Or click Continue editing on the result, brush what's left and generate once more, so you don't start over from the original.
Can I remove a watermark or a logo?
Only from images you own or have permission to edit. Removing someone else's watermark to reuse their photo can infringe their rights. The sticker example on this page removes a price label from the seller's own packaging.
How much does it cost?
With Nano Banana 2.1 an edit costs 6 credits at 1K, 7 at 2K and 15 at 4K, and 4K needs a paid plan. New accounts get 18 free credits, enough for three 1K edits.
Which model should I use?
Nano Banana 2.1 is preselected, and every example on this page was made with it. GPT Image 2.5 is also in the editor if you want to compare the two on your own photo.
Can I use the results commercially?
Yes. You own what you generate and can use it in listings and ads. You are responsible for holding the rights to the photos you upload.